The Four Steps to Moving a Sketch
- Select all the sketch entities you wish to move, or click within the shaded region of a closed contour sketch.
- Hold the CTRL key then click and drag the selected entities from a vertex, not an edge. This will allow you greater control over where you drop your sketch.
- Once you see the preview outline, release the CTRL key. (this will stop you making a copy of the selected profile.
- Continue to drag to your desired vertex and release.
Step-by-Step Tutorial with Pictures
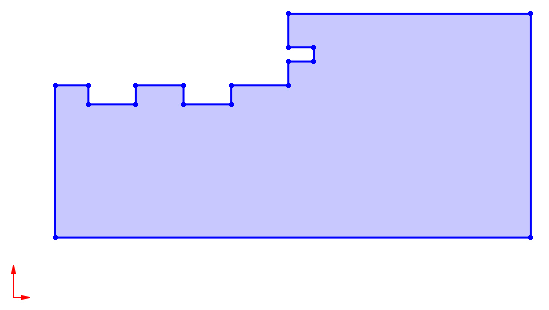
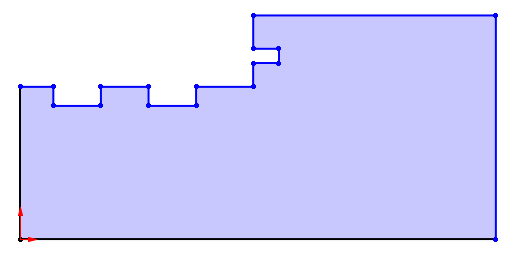
- We want to move this sketch onto the origin.
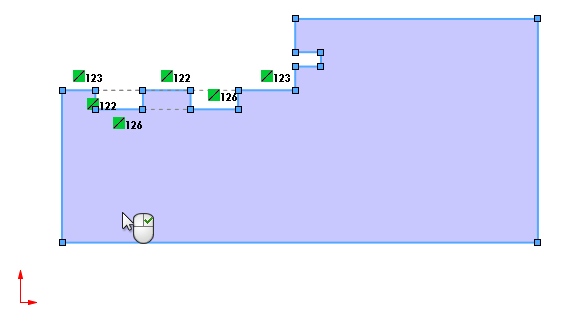
- Click the shaded area or windows select the geometry you want to move.
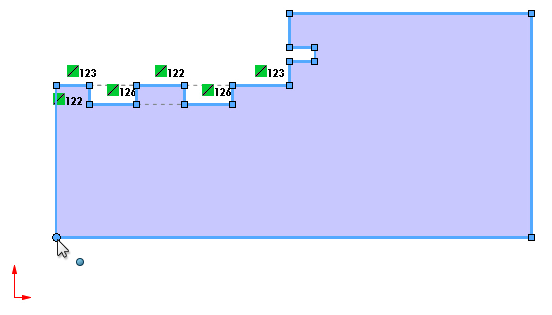
- Hold down CTRL and start to click-drag a vertex.
- Release CTRL once you see the preview.
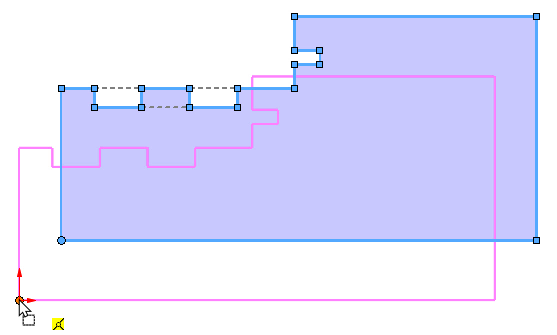
- Drag selected entity to its new location.
- Release mouse button, the sketch has been moved and snapped into new location.


Take the Next Steps
Master SOLIDWORKS with expert-led courses that help you boost your skills and confidence. You can attend online or in a classroom near you!
Choose from a huge range of professional SOLIDWORKS and CATIA training courses and save on multiple courses with a Training Passport.